Air Media
This video provides a brief introduction to Air Media, an app that allows learners to project their screens at each pod.
Air Media - Additional Features
This video provides a more in-depth look at how to download and project using Air Media. It also explores the app’s additional features, including how to share multiple screens at each pod.
Air Media - Written Instructions
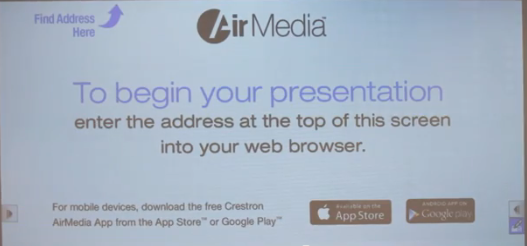
Connecting to Air Media on a Laptop
- Open an internet browser.
- Enter the IP address on the top left of the whiteboard screen.Note: you only need to enter the sequence of numbers and decimals found in the brackets.

- Download the Crestron Air Media app for Windows or Mac
Note: the IP address for each pod does not change, so once you download the app, you can use it for future sessions if you save it on your computer.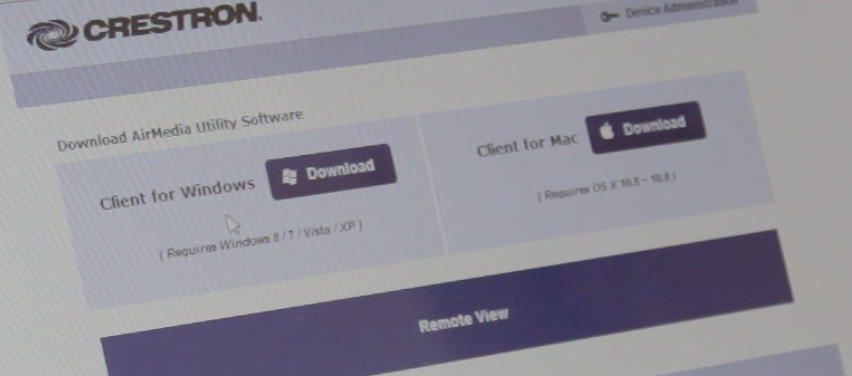
- After the app has downloaded, a Login box will appear on your screen. Enter the four digit code found on the top right of the whiteboard screen.
Note: The code will change with each Air Media session, so it must be re-entered each time.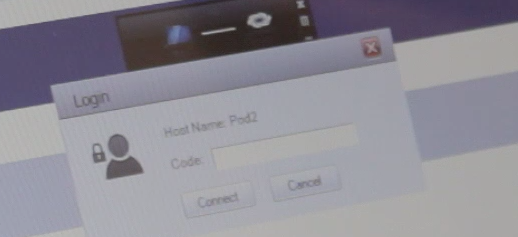
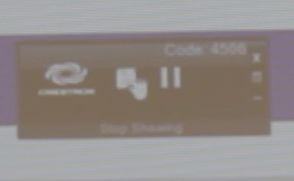
- When you enter the code and then hit “Connect”, your screen will automatically project onto the whiteboard screen at your pod.
- A small black box will appear on the learner’s device. This is the control panel for Crestron Air Media. To stop projecting your screen, press the square button. To play, press the triangle button.
To Project/ Share Multiple Screens using Air Media
- Click the “Options” button under the “X” on the control panel.
- Go to “quad view” and a menu will appear. The learner will select a location (e.g., Upper Left), and the image will be projected onto the corresponding quadrant of the whiteboard screen. Up to four screens can be projected at one time.